
Paywall Screens
Design no-code paywall layouts in Figma and use them across paywalls.
A screen is the visual layout that renders a paywall. You design it in Figma — without writing HTML or native UI code — and the Apphud SDK loads and renders it natively, with smooth transitions and gesture handling.
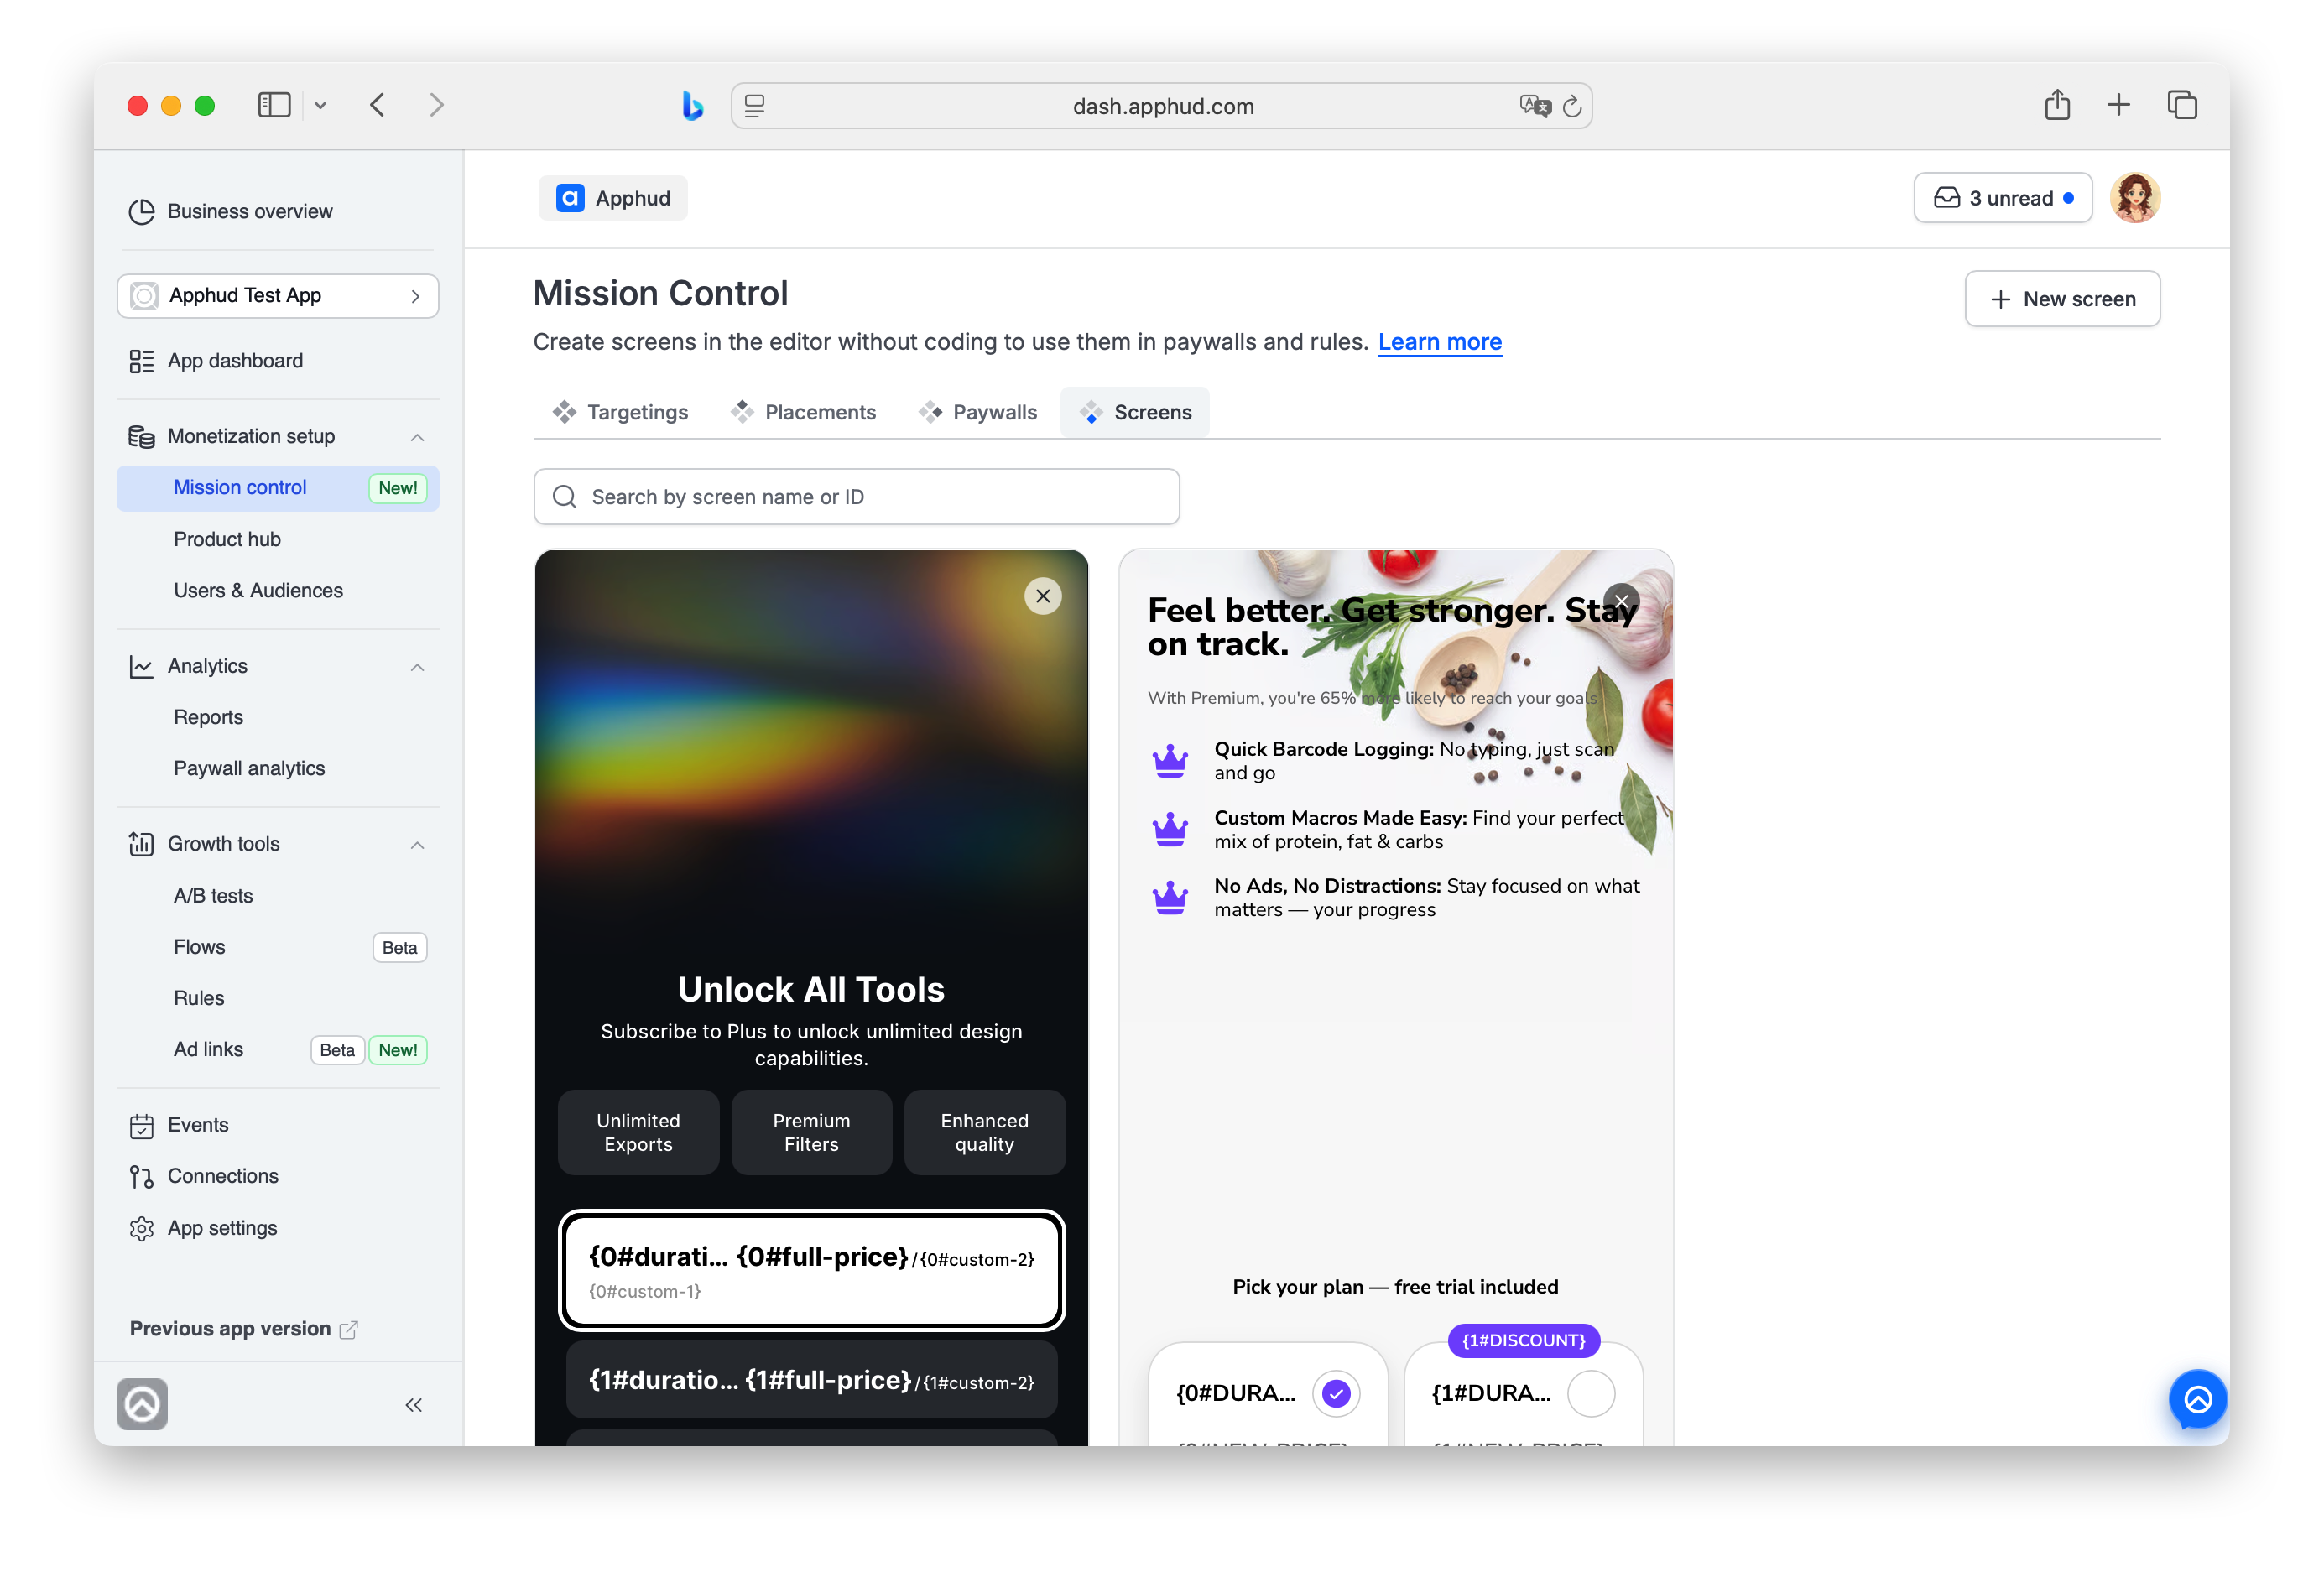
Screens live in Mission Control → Screens.
You attach a screen to a paywall in the paywall editor (see Paywalls → Screen); this page covers creating and managing the screens themselves.
Paywall screens vs Rule screensApphud has two kinds of screens, created in different ways.
Paywall screens (this page) are designed in Figma and attached to paywalls.
Rule built-in screens are auto-generated from a Rule template (for example, App Store page auto-redirect or Feedback screen) and embedded directly in the rule; there is no separate screen builder for them.
If you'd like a Rule to trigger a paywall with a Figma screen, you need to add this Paywall Screen in Mission Control.
Platform support
Paywall screens are rendered by the iOS, Android, Flutter, and React Native SDKs. Unity is not currently supported.
How screens work
- You design the screen in Figma, starting from an Apphud template.
- You publish the Figma design as HTML.
- The screen becomes available in Mission Control → Screens and can be attached to paywalls.
- At runtime, the SDK loads the published screen and renders it natively for the user.
This gives you the design flexibility of Figma with the performance and feel of a native paywall.
Create a screen
- Open Mission Control → Screens.
- Click + New screen.
- In the template library, hover over a template and click Preview to open an interactive pop-up.
- On the template you want, click Get Template, then Duplicate Figma Sites project to open it in Figma.
- Duplicate the Figma Sites project to your drafts and follow the built-in guide to modify the template — layout, content, styling, and macros.
- Publish the design. The screen then appears in the Screens tab, ready to attach to paywalls.
A new app starts with no screens — the Screens tab shows "No screens found" until you create one.
Templates
Templates are ready-made paywall layouts for common patterns — for example, a free-trial explainer, a multi-plan subscription screen, or a feature-list paywall.
Browse the template library when creating a screen. Hover a template and click Preview to see it interactively before choosing. Click Get Template to start from it in Figma.
Every screen starts from a template (or by copying an existing one) — there's no blank canvas.
Macros in screens
A screen declares the macros it uses — placeholders for dynamic text such as price, discount, or duration, following the {{N#name}} naming convention. You add these macro placeholders to the design in Figma.
Macros are declared in the screen and filled per paywall. To fill macro values for a specific paywall (per product and per language), see Paywalls → Macros.
Find a screen
Use the Search by screen name or ID field at the top of the Screens tab to locate a screen.
Manage a screen
What happens when I delete or edit a screen that paywalls reference?
Delete (soft-delete) is blocked if the screen is currently used:
- In a paywall that's part of a running experiment — error: "used by a paywall in a running experiment."
- In any scheme (attached to a paywall used by a targeting / placement) — error: "used by a paywall in a scheme."
Otherwise the screen is soft-deleted and every paywall's screen_id referencing it is set to null — paywalls keep working without a screen attached.
Editing a screen never unbinds it from paywalls — edits propagate live. To swap a paywall to a different screen, edit the paywall, not the screen.
Archiving a screen is blocked when it's used in a Rule or marked as a template.
From a screen's menu you can Edit it (opens the editor) or Archive it.
Using a screen in a paywall
Attach a screen to a paywall in the paywall editor's Screen & products tab. A paywall without a screen works as a configuration-only paywall — your app renders the UI. See Paywalls → Screen.
FAQ
Do I need to know Figma to create a paywall screen?
Yes. Paywall screens are designed in Figma, starting from an Apphud template. No coding is required, but you work in Figma to lay out and style the screen. (Rule screens are different — they're auto-generated from a rule template, not built by hand.)
Can one screen be used in multiple paywalls?
Yes. A screen is reusable — attach the same screen to multiple paywalls.
What's the difference between a paywall and a screen?
A paywall is the configuration — products, macro values, custom JSON. A screen is the visual layout that renders it. One screen can render many paywalls; one paywall references one screen.
Where do I fill in macro values?
Macros are declared in the screen (in Figma) but filled per paywall, in the paywall's Macros tab. See Paywalls → Macros.
What platforms support paywall screens?
iOS, Android, React Native (4.2.2+), and Flutter (3.2.3+) all support paywall screens.
Can I use a paywall screen for Rules?
Yes. In a rule's In-app action, set Presentation model to Paywall model and select a paywall. If that paywall has a Figma screen attached, the screen is presented automatically when the rule fires; if it has no screen, the paywall is delivered via SDK method call only. The Built-in Screen option is different — it shows the screen auto-generated from the rule's template, not a Figma paywall screen. See Rules.
Updated 17 days ago